HTML Code: form.html
Choose CSV File to Import Data
<html>
 <head>

 </head>
 <body>
   <form action="import.php" method="post" enctype="multipart/form-data">
   <div>
    <label>Import CSV File:</label>
    <input type="file"  name="filename" id="filename">
    <button type="submit" id="submit" name="submit">Upload</button>
   </div>
  </form>
 <body>
</html>
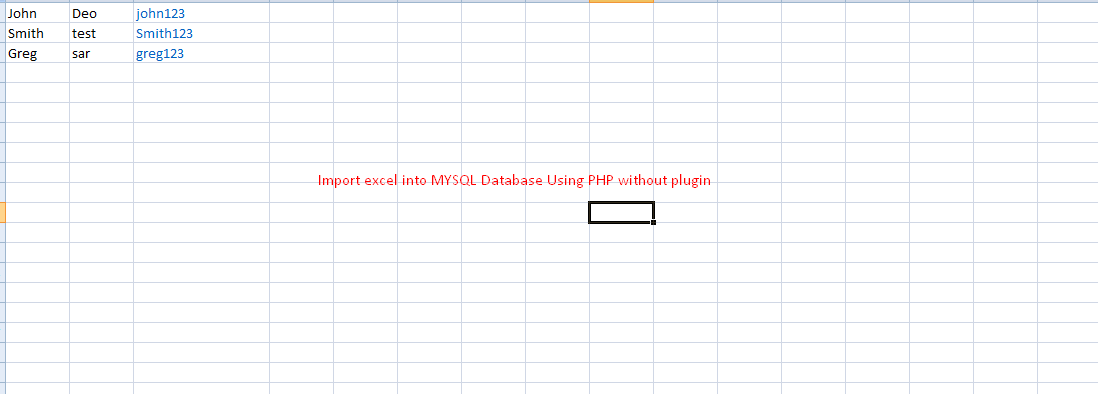
In this PHP code, I specified the array of allowed file type and check the uploaded file type. The excel file is uploaded to a target and its data are parsed using reader functions. It computes the number of sheets and runs a loop to parse data sheet by sheet. For each sheet iteration, I have created a nested loop for parsing data row by row. After reading the non-empty row data, I run the database insert and show the response.
PHP Code: import.php
$servername = "localhost";
$username = "root";
$password = "";
$dbname = "test";

$conn = mysqli_connect($servername, $username, $password, $dbname);

if (isset($_POST['submit']))
{
 //Import uploaded file to Database
 $handle = fopen($_FILES['filename']['tmp_name'], "r");
 while(($data = fgetcsv($handle)) !== FALSE){
 $sql = "INSERT into testtbl (user_name, first_name, last_name, date_added)
  values('".$data[0]."', '".$data[1]."', '".$data[2]."', '".$date."')";

  mysqli_query($conn, $sql) ;
}
}
